A tutorial for making your own taco swing for kids. This DIY sensory swing is pretty easy to make and tons of fun for the kids!
I made a homemade taco swing for my boys for Christmas and I have been so excited to share the tutorial with you.
The actual sewing and assembly of this swing went so smoothly that I actually impressed myself by how well it came together...haha
From start to finish, this DIY taco swing took me about a hour to make. And I was hoping to do it for under $50. Well, not only does the final product look and work amazing, but I made it for about $25.
How much does a store bought one cost, you ask?
Only a whopping $175-300!
So yeah...how about that tutorial then?
Important Safety Precautions & Reminders for DIY Sensory Swings for Kids
I know some of these seem obvious, but I will state these reminders clearly.- Do not use stretchy fabric for this swing.
- Make sure the thread strength matches the fabric used. Also, make sure you use the appropriate needle on the sewing machine!
- Always test homemade swings first before letting children play with them.
- Do not leave children unattended in swings.
- Put swings away when not in use.
- Make sure the swing is in a clear, unobstructed space.
- I am not responsible for injuries or damage pertaining to or caused by this homemade swing.
- Please use at your own risk.
Homemade Taco Swing: What You'll Need
Here's what we used to make this gorgeous DIY sensory swing:
- 1.7 metres (1.9 yards) of canvas or other non-stretchy fabric - I found this beautiful striped fabric on clearance and paid $10. I did not end up using all of the fabric so I will save the huge scraps for another project!
- 1" thick wooden dowels - We used two that were 36" long and paid $5 in total from Michaels using two 50% off coupons. More details to follow.
- Carabiner hooks - We used ones that could hold 100+ lbs each. I think we paid around $8 for two hooks.
- 1/4" nylon diamond braid rope - The amount you need will depend on the height you want the swing to be.
- Drill with 1/4" drill bit
Some Special Tips & Notes About Making this Taco Swing for Cheap!
We went fabric hunting as a family hoping to find a perfect fabric for our swing on clearance. We lucked out and bought some pretty striped fabric. And it's not even hideous fabric or a plain boring color!However, if you can't find any fabric you like to fit your budget, then why not try using canvas drop cloth as an alternative. It's 100% canvas and is fairly cheap to buy. It was going to be our back-up plan until I found the striped fabric.
When I originally priced out wooden dowels at Rona, it was going to cost me $20 just for that part...
Well, enter the ever-brilliant husband: "Does Michaels carry wooden dowels?" I knew that I had seen them before, but I had never looked closely at them.
The answer is yes!
Michaels had 1" wooden dowels precut to 36" long. And to make things even sweeter, their coupon for the week was 50% off an original price item. So we ended up buying our wooden dowels for $5, plus we didn't have to worry about cutting them!
Okay, okay, now that I shared some of our tips for making this taco swing, it's time to move on to the tutorial, right?
How to Make a DIY Taco Sensory Swing
1. Our dowels were much shorter than the width of our fabric. So I cut the fabric to be about 40" wide, just slightly larger than the length of the dowels (36").
2. Fold the edge of the fabric along the long side of the fabric and tuck the raw edge inside. You'll likely use about 2"-2.5" worth of fabric for this hem. Pin and sew. This edge will be the front (or back) of the swing.
3. Repeat on the other long edge, making sure that the finished rectangle is shorter than the length of the dowel.
4. Now we need to make pockets for the wooden dowels. Fold the fabric around the wooden dowel, tucking the raw edge inside, to create the pocket. Don't make the pocket too tight! Pin into place. Remove the wooden dowel. Then sew.
5. Repeat step four on the remaining edge of the fabric.
6. Drill two holes in each wooden dowel, about 1" in from each end.
7. Determine the length of rope you will need. This step depends on the height of your space. Our swing hangs in an extra-wide doorway so we used about 70" of rope per side. You will use one solid piece of rope per side.
8. Put a piece of tape on the end of a piece of rope. It makes threading the rope so much easier! Plus it keeps the rope from fraying. Tie a knot or two on the underside of the dowel. Repeat for all four holes. See picture below.
9. To attach the carabiner hook, locate the middle of the rope for each side. Loop the rope around the carabiner hook. See picture below.
10. Now that the swing is assembled, you will need to install some hardware to hook the swing onto (if you don't already have a swing set-up in your house). You can get a better view of our swing hooks here. We use two eye bolts (about 18" apart) screwed into the frame of a large doorway. Swing hooks should always be installed into a ceiling joist or door frame.
11. Test it out! Before I ever put my own children in a homemade swing, I always test the weight limit myself. The swing held me comfortably. I also had my husband try it out, but he was definitely just too much for our swing to hold. He's roughly 175 lbs.
Storing & Playing with the DIY Taco Sensory Swing
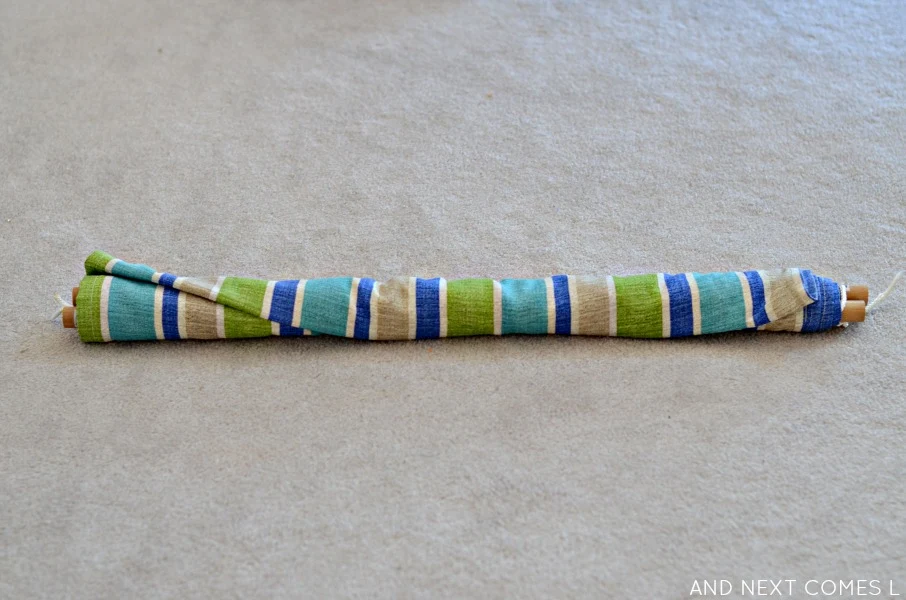
The wooden dowels make it easy to store the finished swing. Simply roll it all up around the wooden dowels and voila!
But more importantly, it works amazing! You can fly it in by laying on your tummy.
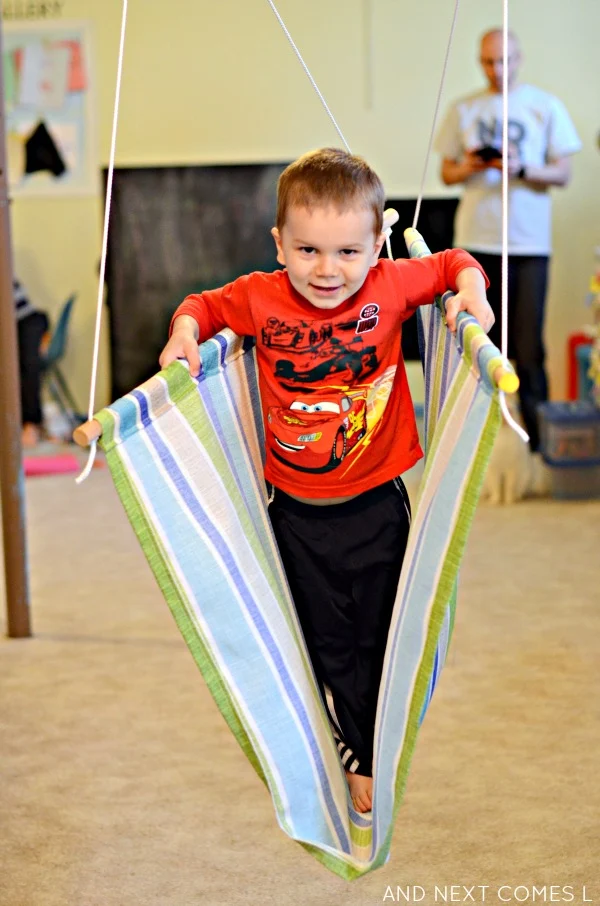
Or you can encourage a good core workout and balance by standing in the swing. This type of play is better for older kids.
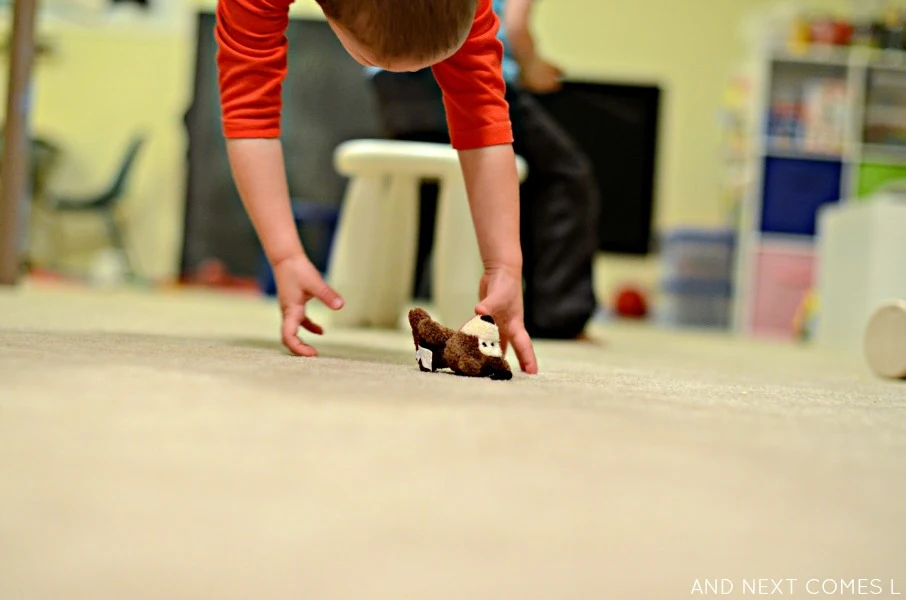
Our favorite way to play is to swing while laying on the tummy, picking up toys, and throwing them at a target. It usually results in the most giggles too!
Other DIY Sensory Swings You'll Love
DIY Woven Wrap Sensory Swing
Easy DIY Platform Swing
This post is part of the Gross Motor Activities from A to Z hosted by Still Playing School. You can see all the other posts in this series by clicking here.


