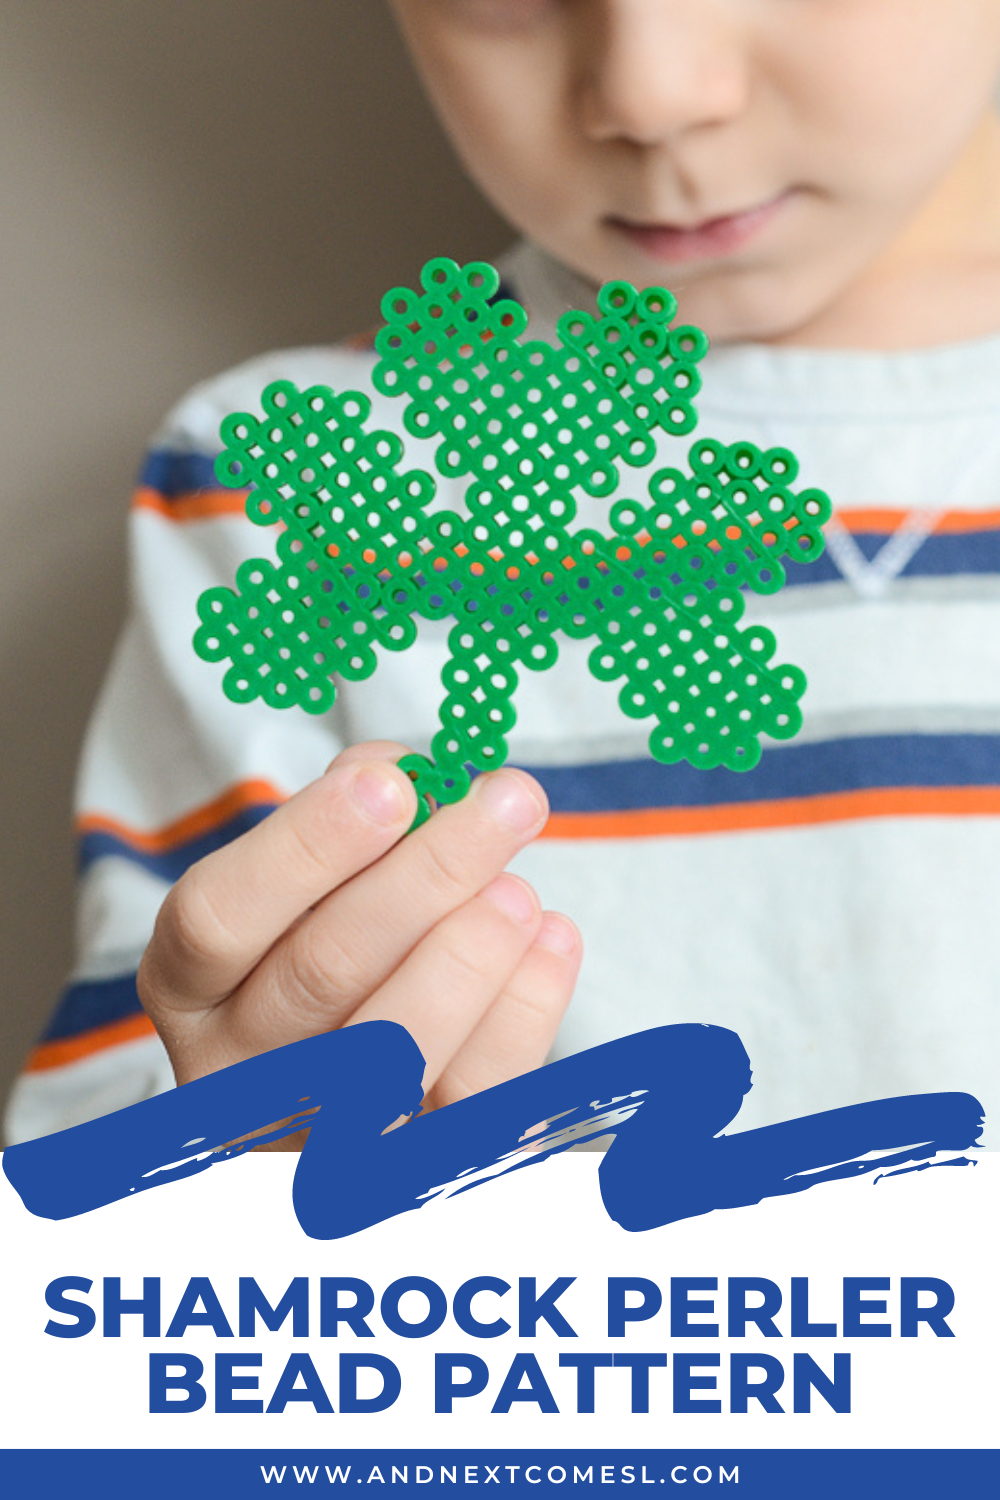
Our entire family recently got into perler bead crafts over the Christmas break. It's been kind of fun and relaxing to do together as a family.
While most of our creations so far have been letters (shocking when you have a kid with hyperlexia, right?), Pokemon characters, and Super Mario characters, we have been branching out to create some fun holiday and seasonal themed ideas lately.
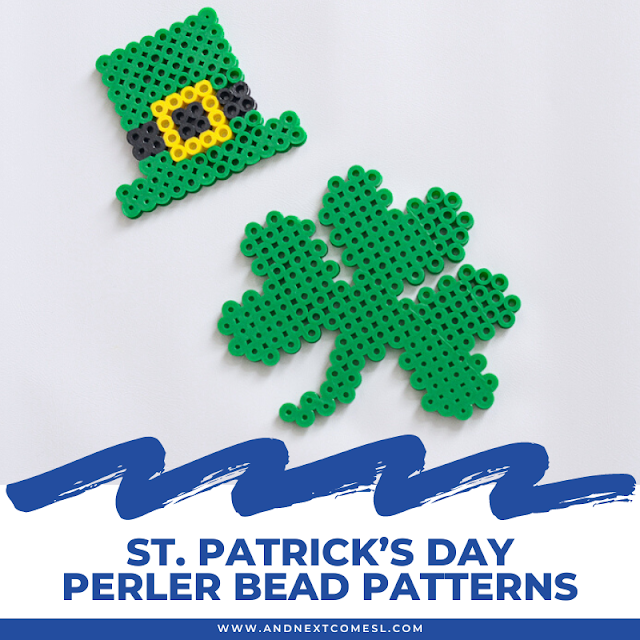
For instance, we recently made these St. Patrick's Day perler bead patterns. They would be great to turn into magnets, a keychain, or even a pin to wear on St. Patrick's Day. Want to make some too? Continue reading...
A version of this post originally appeared on the CBC Parents website.
St. Patrick's Day Perler Bead Patterns: What You'll Need
To make your own leprechaun hat or shamrock perler bead pattern, you will need:
- Perler beads in green, back, and yellow
- Iron - Honestly, the only reason I use an iron these days is to melt perler bead projects like these...
- Ironing paper - You'll need two sheets.
Other than that, all you need is an inspiration photo of the pattern that you want to create, which you will find in the next two sections.
Shamrock Perler Bead Pattern
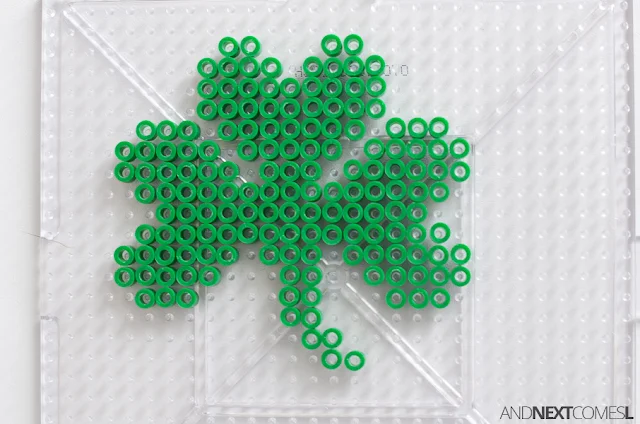
To make the shamrock, you will need only green perler beads and the photo below. Simply recreate the design in the photo below on a pegboard.
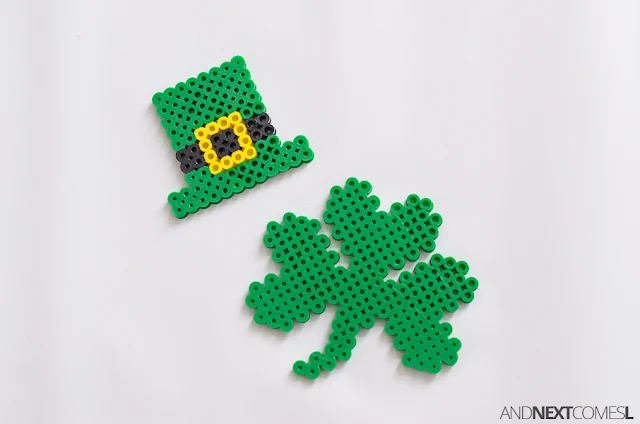
When melted, it will look like this:
Leprechaun Hat Perler Bead Pattern
For the hat, you will need green, yellow, and black perler beads. Again, use the photo below as a pattern for the design.
When melted, it will look like:
How to Melt Your Perler Bead Projects
Once you have completed the designs, cover the perler beads and pegboard with a piece of ironing paper. Then place a warm iron on top, moving in circles, until the beads are melted together. It only takes like 10-20 seconds usually. Adults should complete this step. However, older kids may be able to do this part under adult supervision.
When you lift the iron, you can see how the beads start to stick ever so slightly to the ironing paper. You can gently peel back the ironing paper to check if the beads are fusing together properly. If not, put the ironing paper back down and continue to iron for a few more seconds.
Once the beads are fused together on that one side, then you can flip the design over to melt the other side. To do so, place the ironing paper back on the beads and place your hand on top. Then flip the pegboard over so that the design releases from the pegboard. You should now see the non-melted side.
Place a second piece of ironing paper on the non-melted side and begin melting the non-melted side with the iron.
Once both sides are melted, I always like to place a heavy book on top to help the designs stay flat while cooling. This tip is especially handy for larger designs that are more prone to curving or bending.
Turn Your St. Patrick's Day Perler Bead Projects into Fun Accessories or Art!
There are lots of different things you can do with your finished perler bead projects. You could:
- Make magnets by adding a magnet to the backside of the project
- Turn it into a keychain
- Mount it on paper in a picture frame for some fun festive art or home decor
- Add it to a necklace
- Add a pin backing to it so you can wear it as a pin
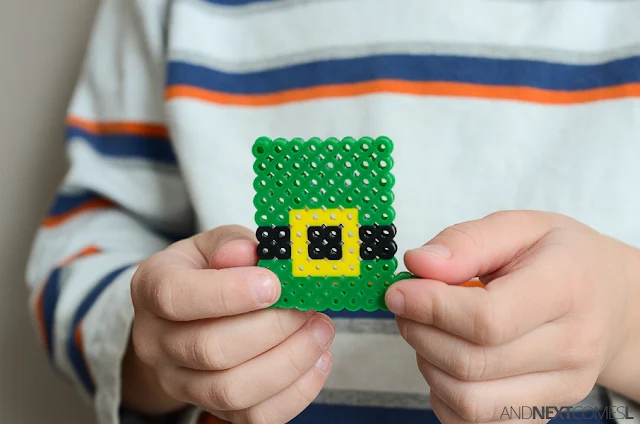
Personally, my kids just like to play with the designs that they make, as you can see with K and one of his finished St. Patrick's Day perler bead patterns below.


