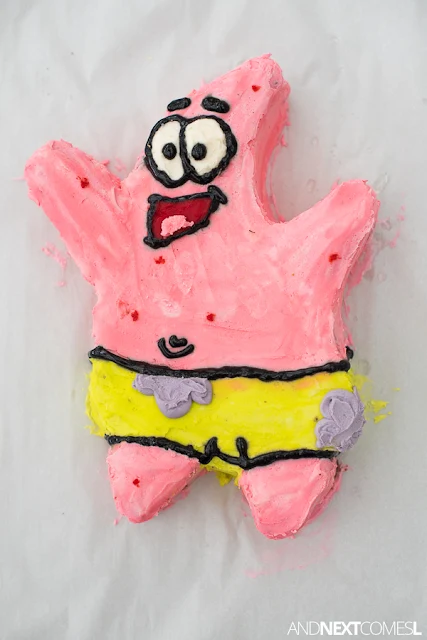
Looking for SpongeBob cake ideas? Here's how to make a SpongeBob birthday cake inspired by his friend Patrick!
- Who lives in a pineapple under the sea?
- SpongeBob SquarePants!
Yep, we've entered the SpongeBob phase...
My kids love the show and the ridiculous antics of the characters so much that my youngest requested a Patrick cake for his 7th birthday. It's not the first time I've made him a cake that is primarily pink in color. A few years ago I made him a Kirby cake. He just likes pink shaped characters I guess!
I knew this Patrick cake was going to be much easier than the task of making a Rayquaza Pokemon cake for my other son on the same day.
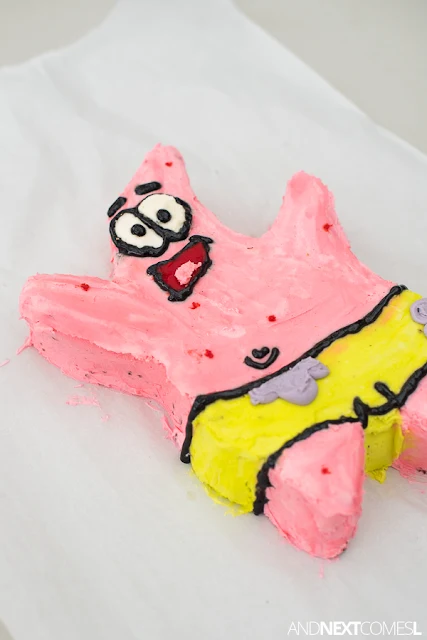
And as you can see, it's far from perfect...
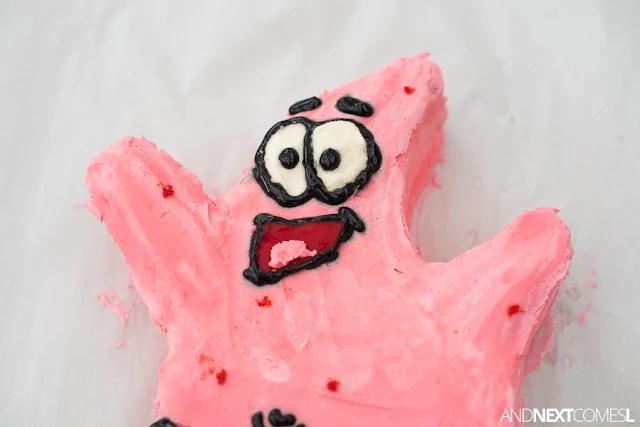
The icing is sloppy.
The black icing bled.
There's weird discolored spots because something dripped on it in the fridge.
BUT...
When it comes to making birthday cakes for my kids, it's not about how perfect they look. It's about making my kids' faces light up when they see the finished product for the first time. It's about seeing the pure joy on their faces as they dig into their cakes.
Plus, it did turn out awesome, in my opinion.
What You'll Need to Make this SpongeBob Patrick Cake
This Patrick birthday cake is pretty straight forward and was made from one 9 x 13 cake. Here's what you'll need to make this SpongeBob inspired cake:
- Cake mix or your favorite homemade cake recipe (go with whatever is easiest!)
- 9 x 13 rectangle cake pan
- Icing or your favorite homemade icing recipe
- Piping bag
- Icing spatula or butter knife
- Food coloring: red, lime green, blue
- Red decorating icing tube
- Black decorating icing tube
- Knife to cut the cake
- Parchment paper and a permanent marker (this is to make the cake template)
- Toothpick
How to Make a Patrick SpongeBob Cake
1. After the cake has cooled, place the cake on the tray that you will be serving the cake on.2. Next, you'll have to design the template for cutting. You'll need a large sheet of parchment paper, a permanent marker, and an image of the design you want to use (I usually pull up an image from google on my iPad). So this step is all about finding the inspiration image!
3. Draw the design you want on the parchment paper using the permanent marker. You just need the outline of the body and not the details like eyes and whatnot. My husband has drawn his fair share of SpongeBob characters for the boys on their whiteboards, so I enlisted his help for this step.
4. Place the finished template on top of the cake and use toothpicks to secure the template to the cake.
5. Use a sharp knife and start cutting the cake, following the parchment paper template.
6. Remove the template and toothpicks.
7. Make your icing (skip if using store bought). Split it into four portions (save 75% or so for the pink, 20% for the lime green, 3% for the purple, and 1% for the white eyeballs).
8. Add some drops of red food coloring to your icing and mix until the color is evenly distributed. Repeat for the lime green and the purple you will need for Patrick's shorts.
9. Add a generous layer of pink icing and lime green icing (following your inspiration image or the cake photos in this post as a guide as to where to put the pink and where to put the pink) to the entire shape of the cake and along all edges. This will become your crumb coat (i.e., hide the cake as best as you can).
10. Chill the cake in the fridge for about 20 minutes.
11. Add an additional layer of pink and lime green icing if needed to make sure the cake is mostly covered. Otherwise, run a butter knife or cake knife over the entire cake to smooth the icing as best as you can. Tip: wet the knife with a splash of water to help smooth the icing. Be sure to save a little bit of pink icing for Patrick's tongue in a later step.
12. Chill the cake again for another 20 minutes or so.
13. Use a toothpick to lightly draw the eyes, eyebrows, mouth, belly button, and flowers for the shorts.
14. Use a piping bag to draw Patrick's eyeballs using the white icing you saved in step 7.
15. Use a piping bag to draw purple flowers on Patrick's shorts using the purple icing you made in steps 7 and 8.
16. Add black and red details using the decorating icing tubes. Tip: if you aren't serving this cake immediately, the black and red icing will bleed. You may want to decorate these details closer to serving time. <-- I made this mistake again this year. Hence, the black and red bleeding.
17. Chill until serving time.


