Friday, November 29, 2019

Easy Christmas Tree Activity for Kids

A fun Christmas tree activity for preschool kids and toddlers.

One of my favorite Christmas memories of when my boys were toddlers was how they would constantly rearrange the ornaments on the lower part of our Christmas tree. Every day, the bottom of our tree looked different.

Well, this simple Christmas tree activity was inspired by those memories.

Sure, my boys might be five and seven now and no longer toddlers, but they still love decorating the tree. And now they have their own that they can decorate as much as they want and as often as they want.

A fun & simple Christmas tree activity for preschoolers and toddlers

A version of this post originally appeared on the CBC Parents website.

What You'll Need for this Christmas Tree Activity

The materials that we used for this activity all came from the dollar store and are reusable for other activities. For instance, the tape used in this activity was previously used for this Christmas graphing activity and you could use the foam shapes to create a Christmas sensory bin. Here's all that we used:

  • Large foam Christmas shapes - We're using gingerbread people, candy canes, and snowflakes, but use whatever you can find at your dollar store.
  • Large mirror or window - As an alternative, you could even try it on the tile around the bathtub during bath time!
  • Small container of water - You could also use a spray bottle filled with water if you prefer. Another option is to add a paint brush for some extra fine motor practice.

To set up this activity, you will first have to make a giant tape Christmas tree on your chosen vertical surface using the green painter's tape. You can make it as big or as small as you'd like although the size might depend on the size of your foam Christmas shapes. I chose to make our tree a bit taller than my youngest son. That way he had to stretch to decorate the top of it. It's too bad I didn't have a foam star to put on the top of the tree!

Once your tape tree is created, set out a shallow container filled with a small amount of water and the foam shapes. Again, you could substitute a spray bottle filled with water or include a paint brush for kids to paint the water onto the foam shapes.

Here's how our activity was set up:

The setup for a simple preschool Christmas tree activity

Time for Christmas Tree Decorating!

In case you're wondering how this activity works, it's important to know that when craft foam is wet, it easily sticks to mirrors and windows. A little water goes a long way so the foam doesn't need much water to make them stick.

Child decorating a Christmas tree on a mirror

Child decorating a Christmas tree on a mirror

So all kids have to do is simply dip the foam shapes into the water and stick them to the mirror or window to decorate the Christmas tree.

Easy Christmas tree activity for toddlers and preschoolers

Easy Christmas tree activity for toddlers and preschoolers

The kids can reposition and redecorate their tree over and over as many times as they like. That's the joy of using water and craft foam! It's not permanent by any means.

Child decorating a Christmas tree on a mirror

Here's one of the finished Christmas trees that my boys decorated:

Christmas tree activity for kids

This Christmas tree activity was a huge hit with my boys. They absolutely loved it!

A fun & simple Christmas tree activity for preschoolers and toddlers

Continue reading "Easy Christmas Tree Activity for Kids"

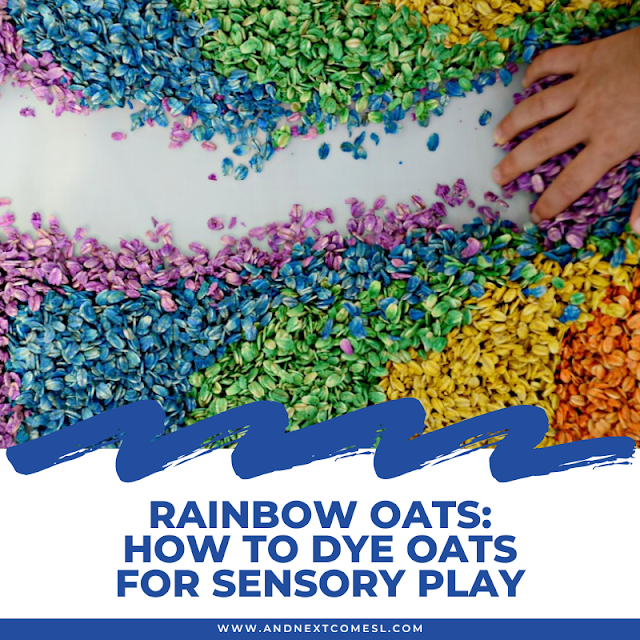
Rainbow Oats {How to Dye Oats for Sensory Play}

Find out how to dye oats for sensory play and make a rainbow oats sensory bin for your kids.

It's been awhile since we've done a good old fashioned sensory bin, mostly because our sensory bin container was in dire need of replacement (i.e., it had some cracks in it).

Well, thankfully, I remembered to pick up a new sensory bin container while running errands. And we kicked off our return to sensory bins with a colorful (new-to-us) base (it's almost as awesome as these rainbow dyed chickpeas).

We haven't used oats as a sensory bin filler before. Now, I'm sure that the boys would have enjoyed playing with some plain old oats all on their own, but I always like to add a bit of color if I can.

So the boys and I spent a morning dyeing oats in all colors of the rainbow, left them in the sun to dry, and were playing with them a few hours later.

Ready to try some making some rainbow oats yourself?

Well, let's take a look at how to dye oats and put together a colorful sensory bin that your kids are sure to love!

Rainbow oats sensory bin: how to dye oats for sensory play

Rainbow Oats Sensory Bin: What You'll Need

Dyeing the oats for this sensory bin is very straightforward. Since we are passed the mouthing stage in our house, I went the non-edible route (i.e., I used liquid watercolors). However, if you need the oats to be taste safe/edible, then you'll want to use food coloring instead.

To dye the oats, you will need:

  • Water - This will be used to disperse the coloring among the oats.

Please note that you will need to prep these oats ahead of time, but, once they're made, you can reuse them as they last for a long time. So let's get dyeing!

Playing with rainbow dyed oats

How to Dye Oats for Sensory Play

Okay, now let's take about how to color oats...

In a bowl (or zipper seal bags, if that's the method you chose), I mixed approximately 1.5 tablespoons of water with a few drops of liquid watercolors (if you are using food coloring, you will need likely 8-10 drops depending on how vibrant you want them).

You want just enough liquid to coat the oats. You do not want them to be drenched for a few reasons. One, the oats will get mushy. Two, they might get moldy if you're hoping to store them for long time use.

Once the water and coloring was mixed, I added a cup of rolled oats. Then I mixed everything up until the oats were evenly coated.

Once all the oats were evenly coated, I dumped the mixture onto paper towel and left it in the sunroom to dry. Drying time was only about an hour.

Repeat for all the other colors. As you can see, I made six different colors so I had to mix six batches of colored oats and wait for them to dry.

After everything was nice and dry (again, it took about one hour), I arranged the colored oats into a rainbow. Isn't it pretty? The answer is yes, obviously.

Colored oatmeal sensory bin for kids

Colored oatmeal sensory bin for kids

Rainbow oats

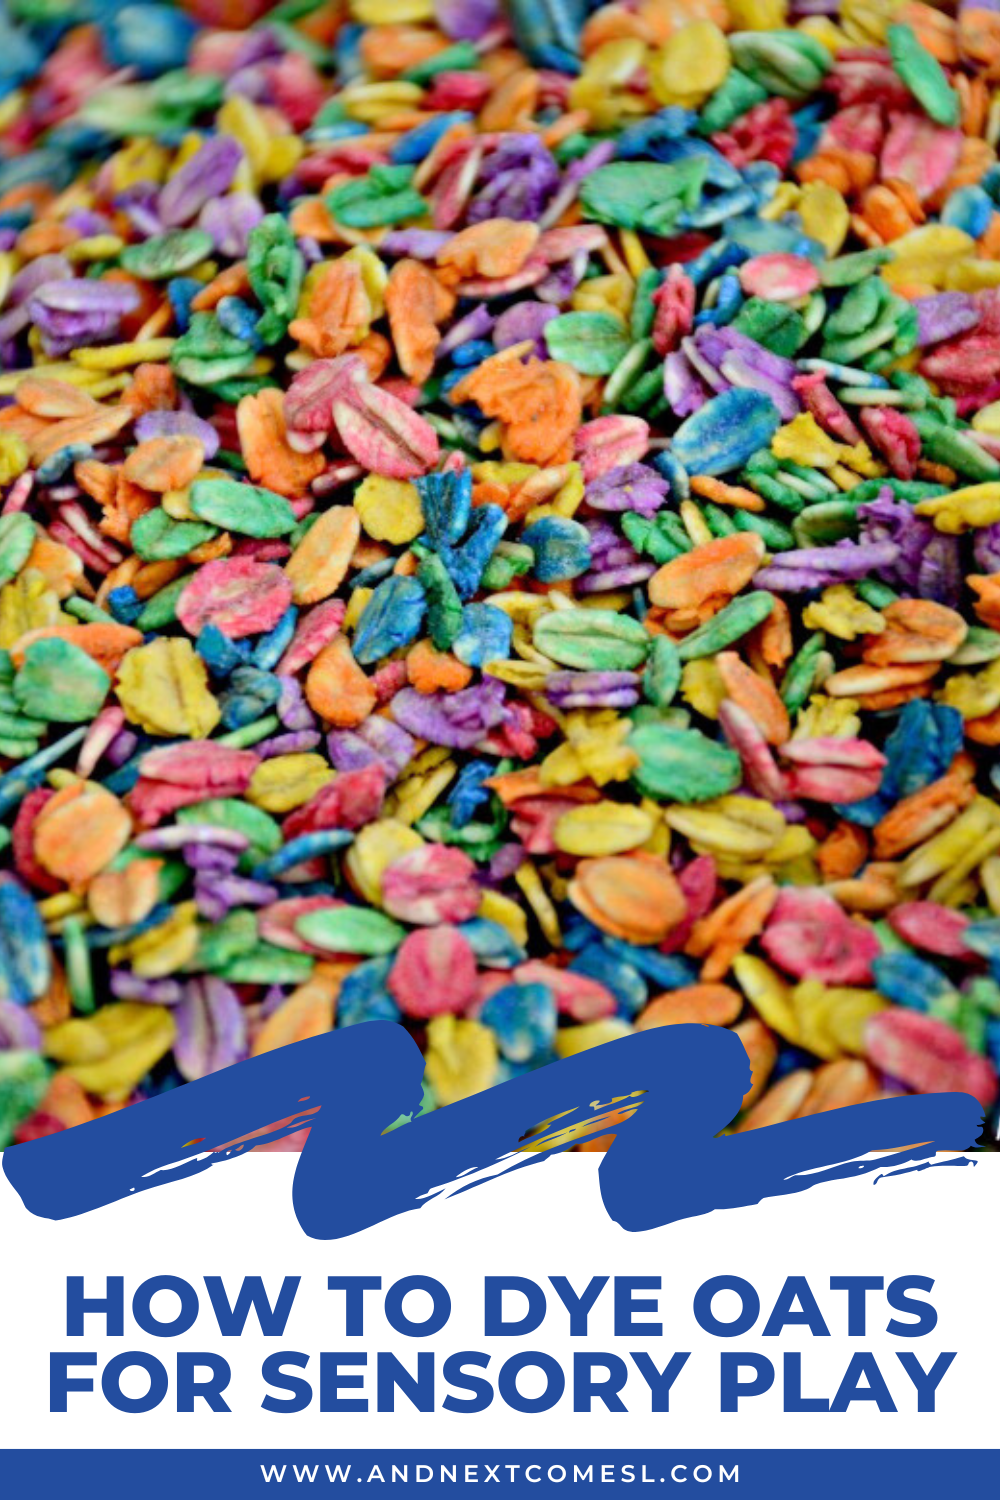
Of course, all the colored oats will be thoroughly mixed in a matter of seconds once the kids start playing with them, leaving a bin full of colorful confetti-like sensory fun. But it was nice to enjoy the nicely lined up rainbow colors for a few seconds though.

Here's how the rainbow colored oats look once they're all mixed up.

Rainbow porridge sensory bin

Rainbow Oats: A Fun Twist on the Classic Oatmeal Sensory Bin for Kids!

The rainbow oats were irresistible to my boys! My oldest, J, loved to draw shapes, letters, and numbers in them (as one does when you're hyperlexic). And he loved to scoop them up and let them fall gently between his fingers.

How to dye oats

How to dye oats for sensory play

How to dye oats for sensory play

Rainbow oats sensory bin

Don't the rainbow colored oats look just like confetti? I mean, they're so pretty!

As for my youngest K, he loved to explore the rainbow oats with his entire body. I've said it many times before, but I will say it again. No sensory bin is complete until there's a child inside the bin itself!

Toddler playing with rainbow sensory bin

All in all, this sensory bin was a major hit. I know that we will definitely be playing with these rainbow oats for the rest of the week! How can we not?! Just look at all those gorgeous morsels of color. They're so inviting and practically begging to be played with.

Sensory play with rainbow oats

How Long Do Rainbow Oats Keep For?

A common question I get is about how long these colored oats last.

Well, I still have this same set of rainbow oats even 5+ years later. I just keep them sealed in an airtight container or zipper seal bag. Some of the oats have broken down a bit from being played with, but that's about it. They haven't gone moldy or anything.

So the answer is they last a long time!

What do you think? Will you be making some rainbow oats to play with?

Rainbow oats sensory bin: how to dye oats for sensory play

Rainbow oats sensory bin: how to dye oats for sensory play

Continue reading "Rainbow Oats {How to Dye Oats for Sensory Play}"

DIY Crash Pad {An Easy No Sew Sensory Hack}

DIY crash pad tutorial. Find out how to make a crash mat using materials you have around your home. No sewing involved either!

I have been wanting to make a gigantic crash mat for my kids for quite some time. However, the thought of sewing a large piece of fabric and hunting down enough foam to stuff it with seemed too daunting. It also sounds ridiculously expensive! 

But I finally came up with the perfect inexpensive solution for making your own homemade crash mat.

It's frugal to make because you likely already have everything on hand to make it. Ready to find out how to make it?

Homemade crash pad for kids: an easy tutorial for how to make your own crash mat

Why Crash Mats are Great for Kids with Autism & Sensory Processing Disorder

Crash mats are great for kids, especially those with autism and/or sensory processing disorder, because it provides lots of proprioceptive input and deep pressure.

It's also a great way to burn off excess energy when the kids are stuck indoors. Jump. Crash. Repeat.

But if you have ever priced out a crash mat (like this one), then you know they're super expensive! And I'm entirely too cheap to buy one, so I came up with this perfect DIY alternative. There's no sewing involved too (bonus, right?).

DIY crash mat - find out how to make a homemade crash pad for kids

Homemade Crash Pad: What You'll Need

Do you use a duvet on any of the beds in your house? Well, then you are ready to go!

To make this no sew DIY crash mat, you will need to gather as many of the following supplies as possible:

  • Duvet cover (ours is queen sized) that is sealed with a zipper (similar to this one) - required material
  • Duvet(s)
  • Pillows
  • Body pillow
  • Large comforters, blankets, or fluffy towels
  • Large stuffed animals (avoid ones with any plastic parts)
  • Bean bag chairs
In the past, we have always just piled up stuffed animals, pillows, and blankets to make a giant crash mat. The problem with this method, however, is that all the materials shift, meaning we would constantly have to readjust the items.

We needed something that would hold all the items in one place.

The solution?

A duvet cover that zips closed!

How to Make a Crash Mat

Simply unzip the duvet cover and stuff it as full as you can with everything soft and fluffy in your house.

We used primarily pillows, fleece blankets, two bean bag chairs, a body pillow, and a large stuffed tiger that is bigger than I am!

Fun tip: You can even make it into a scavenger hunt and encourage the kids to help you locate everything you could use.

Make your own crash mat at home

Making Your Own Crash Mat is a Great Heavy Work Activity Too!

Stuffing the duvet cover is a great heavy work activity for kids too because they have to climb inside the duvet cover with a large item and stuff it into the corners.

Another fun tip: the duvet cover makes a fun fort! I held the opening of the duvet up so that the boys could climb in and out to fill it up. 

Once it's full, simply zip it closed and let the kids crash! It worked perfectly!

Crashing into a homemade crash mat

How to make a crash mat for kids using materials you have at home

Other Sensory Hacks You'll Love


DIY crash pad for kids: an easy no sew tutorial for how to make a homemade crash mat
Continue reading "DIY Crash Pad {An Easy No Sew Sensory Hack}"

Monday, November 25, 2019

Christmas Tree Math & Fine Motor Activity

Looking for Christmas math activities or Christmas fine motor activities? Why not combine both with this simple Christmas tree math and fine motor activity!

Even when my youngest K was a toddler, he loved playing with clothespins. So, if an activity has clothespins in it, he's interested.

Then there's my oldest who loves anything with math and numbers (hello, hypernumeracy!).

So, if you combine the two, you end up with an activity that's a guaranteed hit at my house!

But let's also combine it with Christmas because...you know...Christmas is coming up.

The result? A super engaging Christmas tree math and fine motor activity that makes for a great busy bag idea, quiet time activity, or math center for kids.

Christmas tree math & fine motor activity for preschoolers and toddlers

What You'll Need for this Christmas Tree Math & Fine Motor Activity

Here's what you'll need for this Christmas math activity tray:

  • 10 foam Christmas tree shapes - You can find these at the dollar store and, as you can see, ours are glittery! Ideally, I'd use non-glittery trees for this activity so that the dot stickers adhere better. As an alternative, you could cut green foam into triangle shapes or use green cardstock instead.
  • Dot stickers - You could just draw dots onto the tree instead, but the dot stickers make the tree look like it's covered in colorful lights or ornaments. Plus, you can get the kids to help put stickers onto the trees for some additional fine motor skills practice.
  • Permanent marker - To label the clothespins and/or possibly draw dots onto the Christmas tree shapes (if not using dot stickers).

Label the 10 clothespins with the numbers 1-10 using the permanent marker.

Add dot stickers to the foam Christmas trees, starting with one sticker on one tree, then two on another, then three on another, etc.

Alternatively, you can draw dots on the Christmas trees using a permanent marker. I wanted to reuse these tree shapes for other projects so I opted for something more temporary. Plus, the dot stickers look more like colorful Christmas lights or ornaments.

If you wanted, you could also make this activity self-checking. Simply write the correct numbers on the back of the foam Christmas trees. Then your child can clip the clothespin onto the tree and flip it over to check their work. Again, I wanted to be able to reuse these tree shapes for other projects so I didn't make ours self-checking.

Once everything is prepped and ready, simply add the clothespins and decorated foam Christmas trees to a tray, like so:

Christmas tree math, counting, and fine motor activity for preschoolers and toddlers

An Easy Christmas Math Activity that Works on Fine Motor Skills Too!

The goal of this Christmas tree counting activity is to count the dots on the tree and find the matching tree stump (aka wooden clothespin) and attach it to the base of the tree. For example, you can see the tree below has five stickers so the clothespin labeled with the 5 is then clipped onto it.

Christmas math activity for working on fine motor skills

Your child will simply match all the clothespins to the correct tree until there are no trees and clothespins left. Just count, clip, and repeat!

Close up of a child pinning a clothespin on a Christmas tree as part of a fine motor Christmas math activity

Both of my boys enjoyed this little Christmas tree math and fine motor activity tray. Will you be giving it a try?

Christmas tree math & fine motor activity for preschoolers and toddlers

Continue reading "Christmas Tree Math & Fine Motor Activity"

Christmas Math Activity: Graphing with Gift Bows

Looking for a Christmas math activity for toddlers, preschoolers, or kindergarten kids? Try this simple Christmas graphing with gift bows.

The other morning while I was wrapping presents, I decided to put together this simple Christmas graphing math activity for kids as a way to keep K busy. He loves to help pick out ribbons and bows for the presents so I thought this activity would entertain him while I wrapped the presents in wrapping paper.

Christmas graphing - a simple preschool or kindergarten math activity for Christmas


Christmas Graphing: What You'll Need for this Math Activity

The inspiration for this Christmas math activity was this candy graphing activity from Busy Toddler. Here's what you'll need:

 Using the tape, I made columns for each color of gift bow on the floor. I had exactly the right amount of tape too! As I was putting the last piece of tape down, I hit the end of the roll! Talk about meant to be!

Christmas activity for kids using gift bows from And Next Comes L

Teach Graphing with this Simple Christmas Math Activity for Kids

Five year old K quickly got to work sorting the gift bows by color into the columns.

Christmas activity for kids using gift bows from And Next Comes L

Christmas math activity for kids using gift bows from And Next Comes L

Christmas math activity for kids from And Next Comes L

When he was done sorting, I started asking him specific questions about the graph, such as:

  • How many red bows are there?
  • How many green ones?
  • Which color has the most bows?
  • Which has the least?
  • What color has more: white or gold?
Then he would count the bows before answering.

Some of the questions he knew the answer just by taking a quick glance at his graph. Regardless, he loved this simple math activity and had a lot of fun with it!

Counting gift bows with a simple Christmas graphing math activity for kids from And Next Comes L

Counting gift bows with a simple Christmas graphing math activity for kids from And Next Comes L

Other Ideas You'll Love


Need a math activity for Christmas? Try this Christmas graphing activity!
Continue reading "Christmas Math Activity: Graphing with Gift Bows"

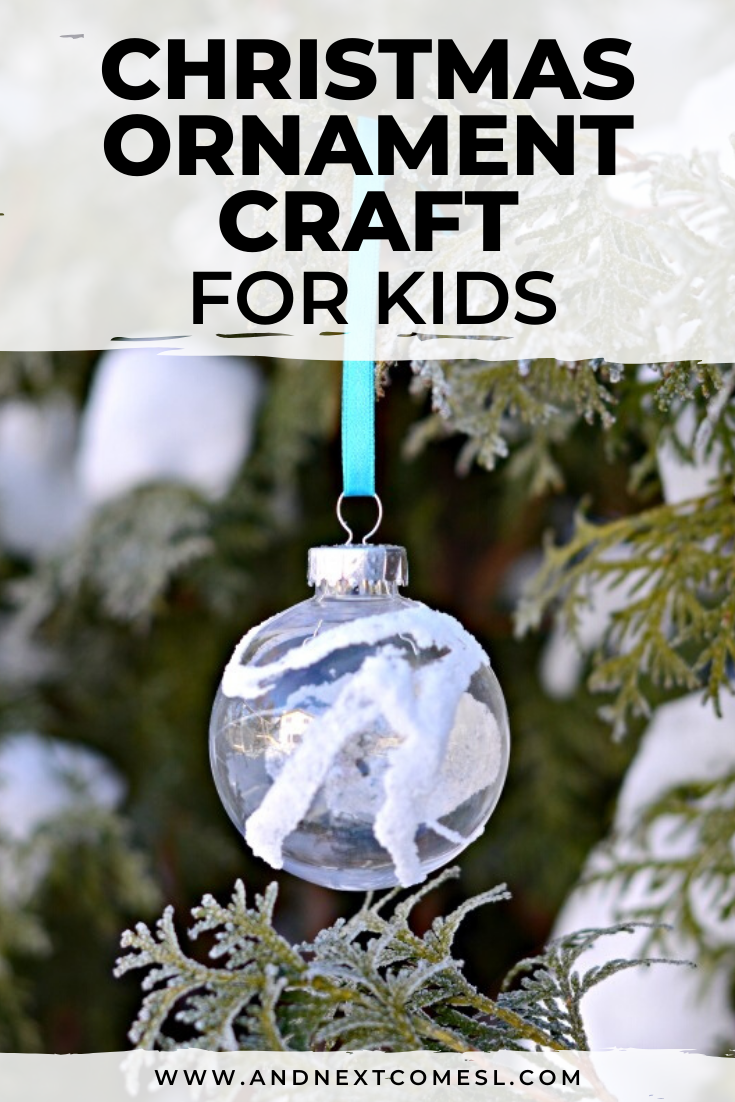
Glue & Salt Ornaments {Easy Christmas Craft}

Looking for easy Christmas ornament crafts for kids? Try making some glue and salt ornaments with this simple tutorial.

One Christmas, I stocked up on clear plastic ornaments when they were half price. I wasn't sure what to do with them at the time, but I figured that I would eventually come up with some kind of Christmas ornament craft for kids.

Well, I finally did and the results are beautiful.

Christmas ornament craft ideas for toddler or preschool child

Christmas Ornament Craft Idea for Preschool

See the thing is we have never tried the whole glue, salt, and watercolor art process before.

Shocking, I know.

So my youngest son (who was four years old at the time) and I had fun experimenting with this method to make some pretty glue and salt ornaments for the Christmas tree. It was a lot of fun and they turned out great!

Some of the ornaments were painted, but most were left plain white, like below.

Clear Christmas ornament craft ideas

The process is fun, but a wee bit messy. The bonus is you end up with a Christmas ornament keepsake that you can keep for years.

You can get the full tutorial for this Christmas ornament craft over on CBC Parents.


Homemade Christmas ornament crafts for kids to make and give as homemade gifts
Continue reading "Glue & Salt Ornaments {Easy Christmas Craft}"

Friday, November 22, 2019

Jingle Bell Christmas Slime

Get ready to make some Christmas slime for kids! Find out how to make slime with this simple jingle bell Christmas slime recipe.

Nothing says Merry Christmas like slime...

Okay, not really, but this jingle bell slime is a pretty festive way to enjoy the season through sensory play. It's a perfect mix of tactile sensory play and auditory sensory input.

The itty bitty red, gold, and green bells are so so cute. Seriously, they're so tiny and have the tiniest little jingle that rings when you shake them.

I whipped up this batch of Christmas slime as a surprise for the kids as an after school activity recently and it was such a hit! It's super simple to make and I used supplies from the dollar store so it's inexpensive too. Also, just a heads up, but the clear glue from the dollar store works amazing for homemade slime. I had my doubts that it would because sometimes the craft supplies from the dollar store aren't that great.

Jingle bell slime - an easy Christmas slime recipe made with contact solution

A Christmas Slime Recipe Made with Contact Solution & Mini Jingle Bells

I'm pretty sure this Christmas slime has been the most favorite slime we've made to date.

My youngest, K, has spent hours playing with this slime. I'm convinced that this won't be considered Christmas slime for much longer. Or maybe he will think Christmas lasts for weeks or months.

And honestly, I'm as obsessed with this slime as much as he is, but for a different reason. I loved taking photos of the slime. Even if we had to take photos squished in a corner of my kitchen with giant photography lights placed on each end of the table. You gotta do whatcha gotta do when it's pitch black outside by like 4:30 PM each day, right? 

But don't worry, I'm not going to spam you with all the photos of this glorious slime...but just know I had a very hard time deciding which were my favorites out of the almost 100 photos. Eek.

Ready to learn how to make this homemade Christmas slime?


Looking for a Christmas slime recipe? Try this fun jingle bell slime! It's a fun holiday themed sensory activity that the kids will love!
Continue reading "Jingle Bell Christmas Slime"

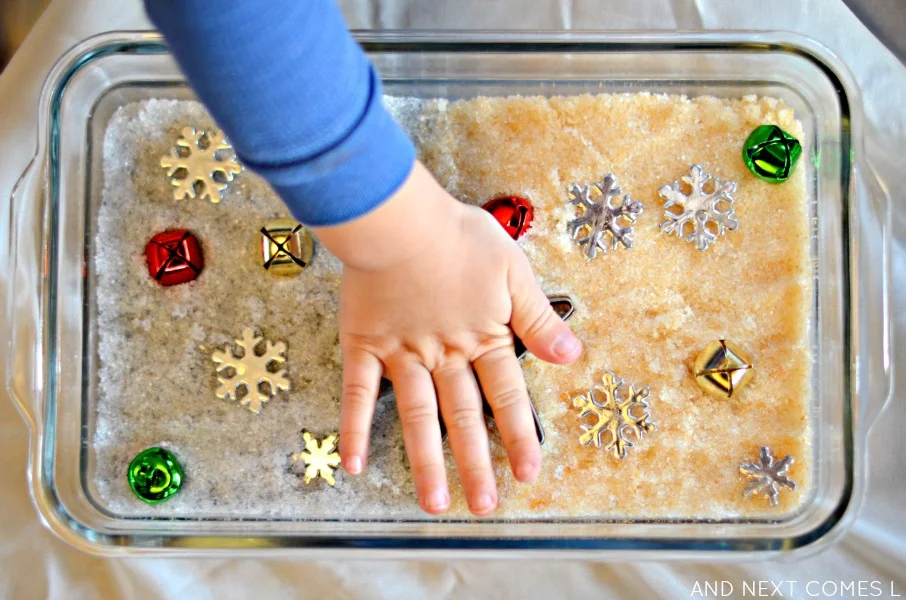
Christmas Sensory Bin with Gold & Silver Dyed Epsom Salt

Looking for Christmas sensory activities for toddlers or preschoolers? Then you'll want to try this Christmas sensory bin with dyed epsom salt.

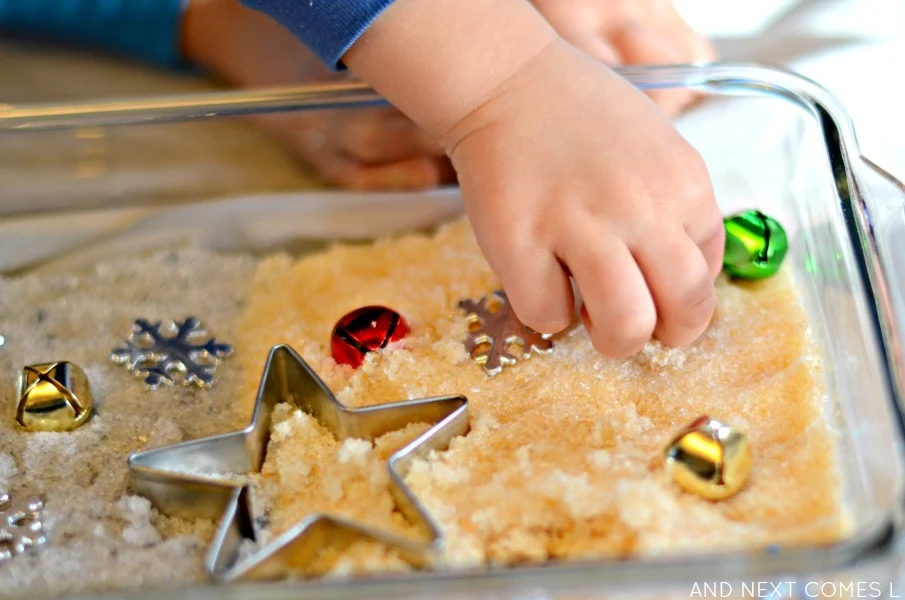
Here's a Christmas sensory bin that I put together for my preschooler K, while his older brother was at school. It's inspired by the song "Silver and Gold," which always makes me want to watch that classic Rudolph the Red Nosed Reindeer movie. I love that movie!

Anyway, here's how we took the metallic colors of Christmas and turned them into a simple preschool Christmas sensory bin.

Holiday sensory bin for toddlers

Christmas Sensory Play: What You'll Need

I've been slightly addicted to our metallic liquid watercolors lately. We used gold in our frozen Christmas shapes and pearl white in our snowflake water sensory play. So I thought I would try dyeing some epsom salts with our metallic liquid watercolors as part of a Christmas sensory bin. They turned out so pretty!

Here's what we used for this Christmas sensory play idea:

  • Silver snowflakes - These were from a cheap snowflake garland that I cut up.
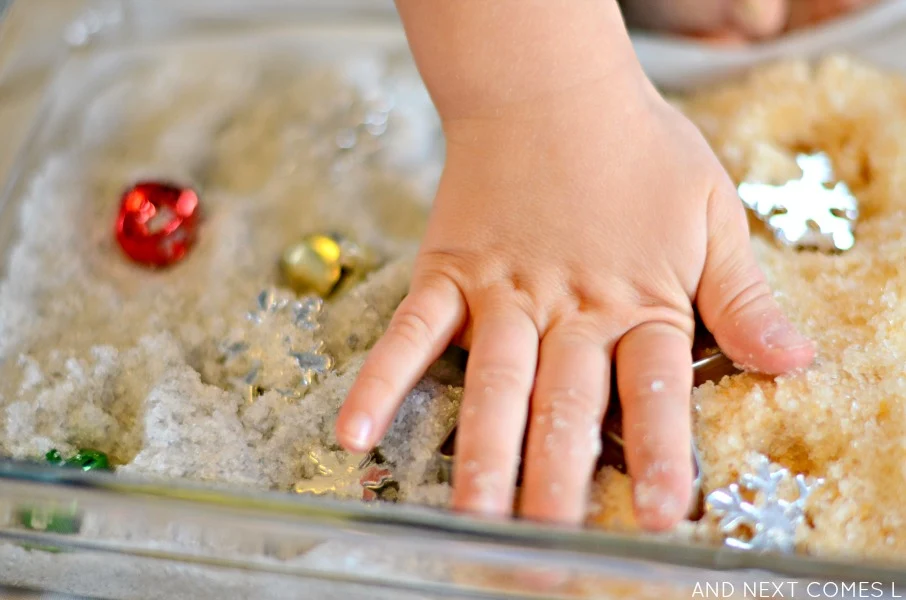
First, I dyed the epsom salts with the liquid watercolors using this method. Once dry, I laid the dyed epsom salts in the glass dish so that half the tray was silver and the other half was gold. I then added the jingle bells, cookie cutter, and snowflakes.

Close up of metallic dyed epsom salts in a Christmas sensory bin from And Next Comes L

Close up of metallic dyed epsom salts in a Christmas sensory bin from And Next Comes L

Time to Play with this Christmas Sensory Bin!

While I tried refraining from singing "Silver and Gold" on repeat, K checked out this sensory bin. H really enjoyed pushing each item down into the epsom salts until they were buried.

Christmas sensory play with gold & silver epsom salts from And Next Comes L

Playing with gold & silver epsom salts in a Christmas sensory bin from And Next Comes L

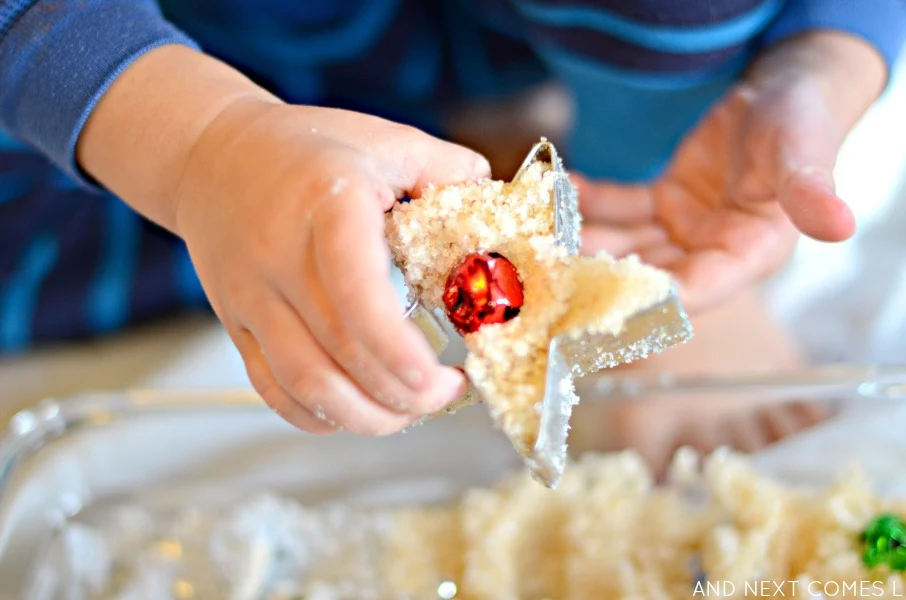
But he was particularly enamored with the star cookie cutter! He loved pushing it into the epsom salts to leave star shapes throughout.

Playing with gold & silver epsom salts in a Christmas sensory bin from And Next Comes L

Playing with gold & silver epsom salts in a Christmas sensory bin from And Next Comes L

He even managed to make a jingle bell star "cookie."

Playing with gold & silver epsom salts in a Christmas sensory bin from And Next Comes L

Other Christmas Sensory Activities You'll Love


Christmas sensory bin for toddlers, preschool, and kindergarten kids that's inspired by the Christmas carol "Silver & Gold"
Continue reading "Christmas Sensory Bin with Gold & Silver Dyed Epsom Salt"